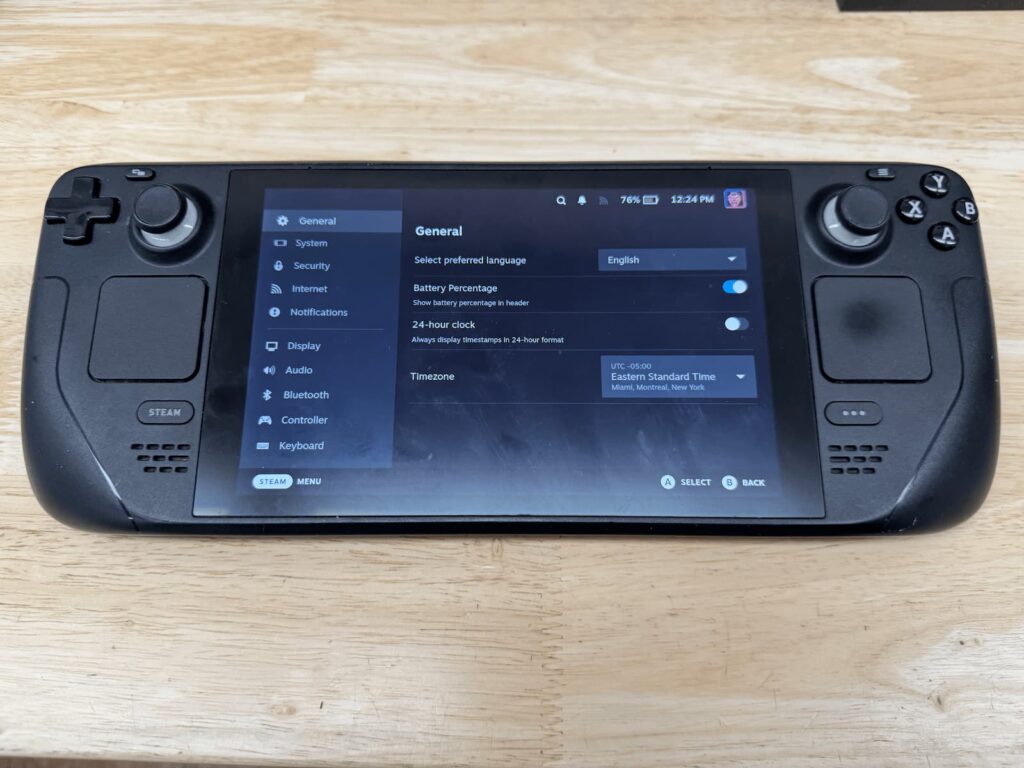


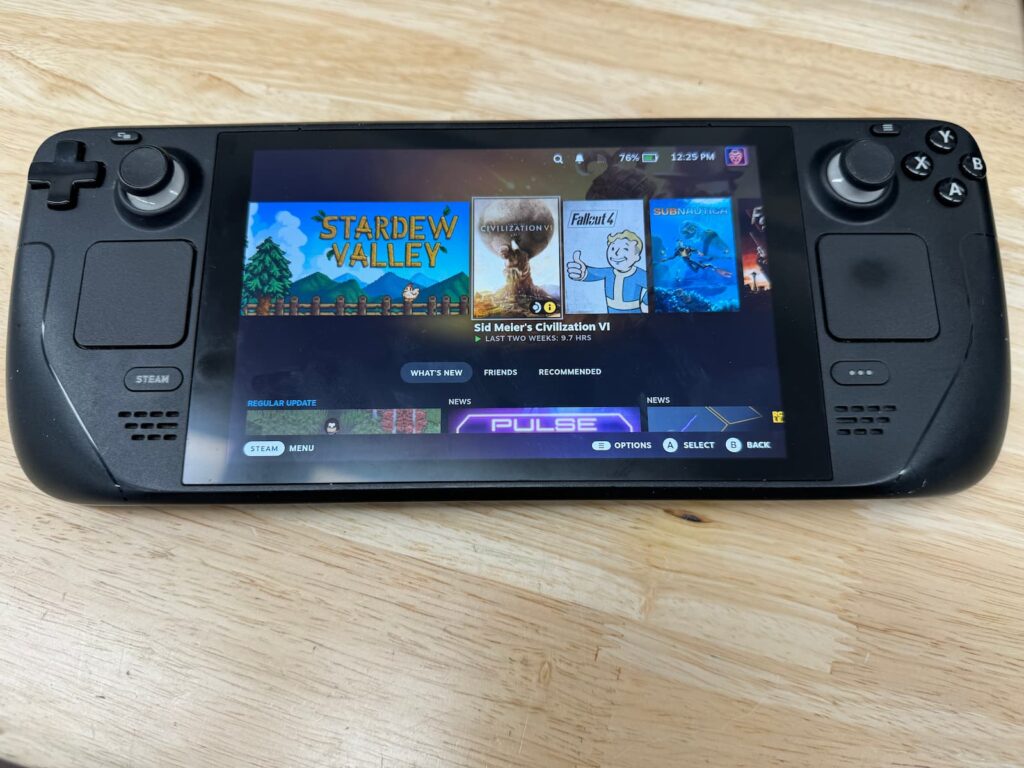
When a customer reached out to us via Instagram, they had an unusual issue with their Steam Deck. After a trip where the device was packed in their bag, they discovered a serious problem: one of the joysticks appeared to be stuck and protruding from the device’s enclosure. This visible malfunction was concerning, as the joystick’s improper alignment suggested potential internal damage.
Diagnosis and Initial Assessment
Upon receiving the Steam Deck, we began by carefully inspecting the damage. The joystick was physically displaced but, upon initial testing, it was clear that the internal mechanics were still operational. The problem seemed to be confined to the joystick’s physical position rather than a functional failure.
Detailed Repair Process
- Disassembly and Preparation:
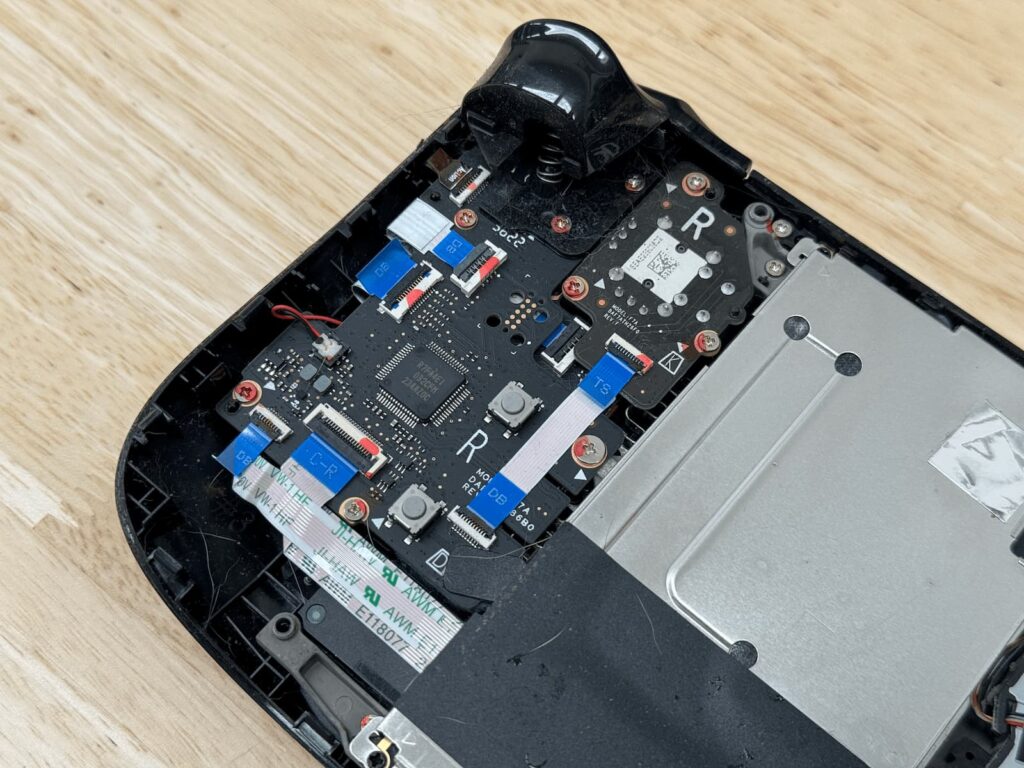
- Removing the Back Cover: We started the repair by gently removing the back cover of the Steam Deck. This step was crucial to gain access to the internal components and ensure no further damage occurred during the repair.
- Disconnecting the Battery: To work safely, we disconnected the battery. This precautionary step eliminated any risk of electrical short circuits while we were handling the internal components.
- Joystick Removal and Inspection:
- Detaching the Flex Ribbon Cable: The next step involved disconnecting the flex ribbon cable that connects the joystick to the mainboard. This delicate task required careful handling to avoid any damage to the connectors.
- Unscrewing the Joystick: Using a 00 Phillips screwdriver, we removed the three screws securing the joystick in place. These screws were essential in holding the joystick assembly firmly within the device.
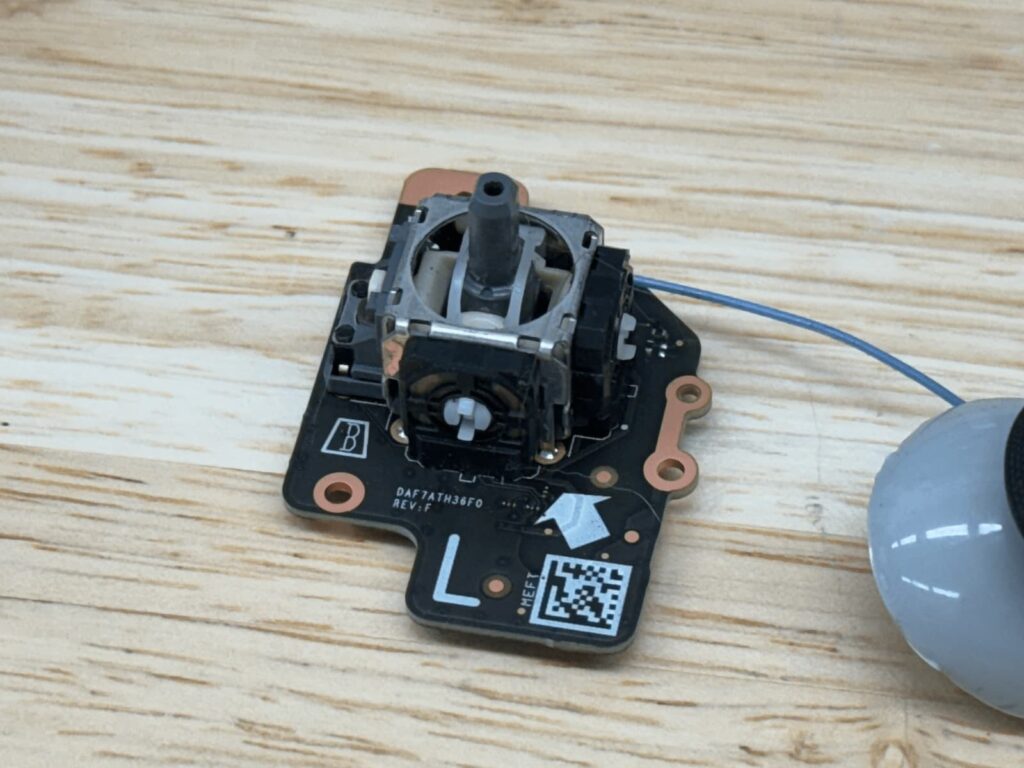
- Extracting and Cleaning: With the joystick freed, we carefully worked it out of its mounting position. The joystick had been stuck due to physical misalignment and possibly some debris. We thoroughly cleaned the joystick and surrounding area to ensure no foreign materials were affecting its operation.
- Reinstallation and Final Checks:
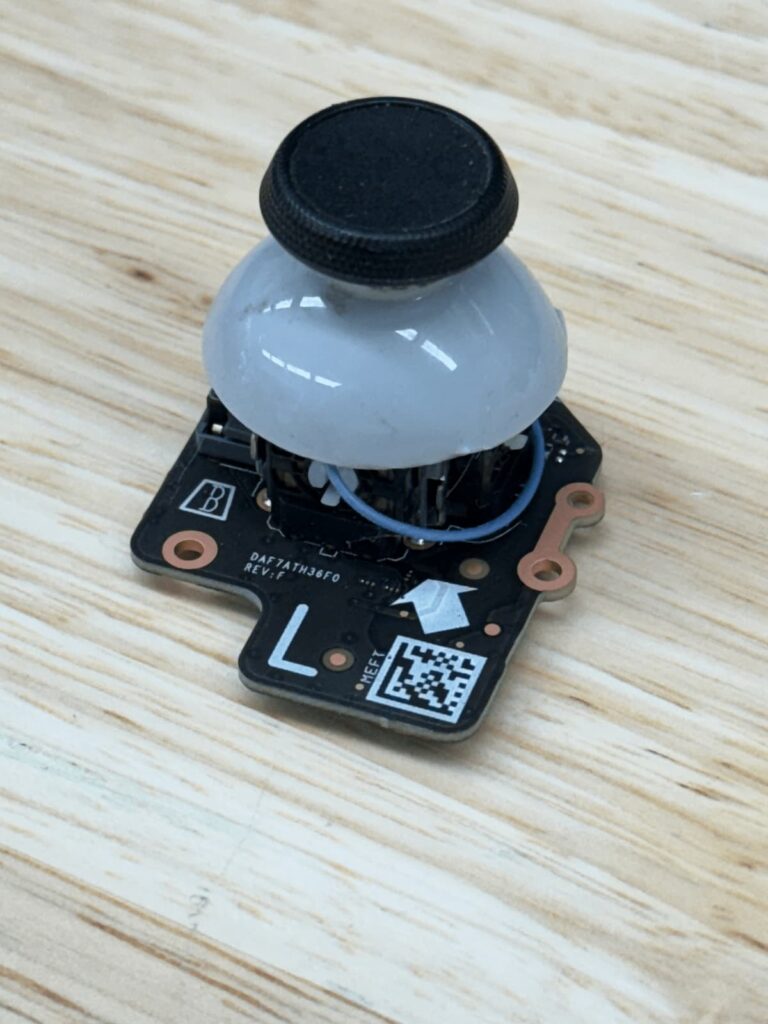
- Repositioning the Joystick: After cleaning, we reinstalled the joystick into its proper position. This step required precise alignment to ensure it fit snugly and functioned correctly within the device.
- Reassembling the Device: Once the joystick was securely in place, we reconnected the flex ribbon cable and the battery. The back cover was then replaced, and the device was reassembled.
- Testing for Functionality: The final step involved rigorous testing. We tested the joystick’s movement and responsiveness to confirm it was functioning correctly. We also checked for any signs of stick drift or irregular behavior that might indicate underlying issues.
Outcome and Customer Communication
The repair was completed within the quoted time of one hour. We were pleased to find that the joystick was fully functional, and the Steam Deck was restored to its original condition. The customer was delighted to receive their device in perfect working order and ready for gaming.
We provided a brief consultation, advising them of the potential for stick drift due to the initial damage. We explained that while the joystick was currently functioning well, future issues could arise from the original impact.
Additional Notes
This repair was relatively straightforward but highlighted the Steam Deck’s design advantages, which allowed for easy access and component-level repairs. We had not encountered a joystick cap stuck in this manner before, making it a unique but manageable repair. The experience underscored the importance of careful handling during travel to prevent similar issues.
Overall, the repair process was smooth, and the successful outcome reinforced our commitment to providing quality and efficient repair services for our customers.